#2 Cutting things to size
Starting with the boards.
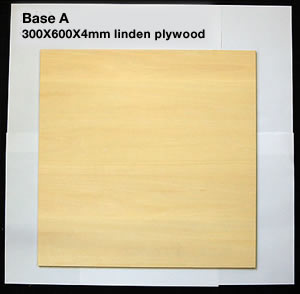
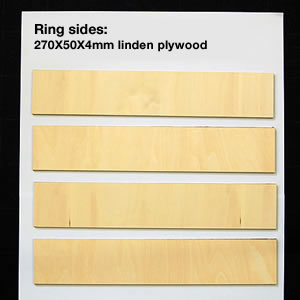
The linden plywood, sized 300X600X4mm, should be cut to one 300X300mm piece to be used for "base A" of the ring. The remainder should be cut into four 270X50mm pieces for the sides of the ring.
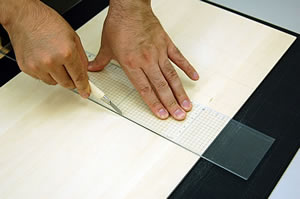
Before cutting, measure the wood with a ruler and mark the measurements with a pencil to ensure accuracy.
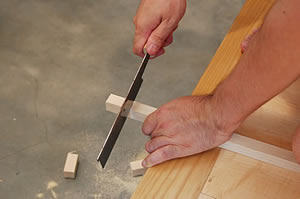
The plywood is only 4mm thick, so it can be cut easily with a point knife.
Instead of pressing hard to cut the wood in one shot, gently press the blade two/three times to make a smooth cut. Be careful not to cut your fingers.
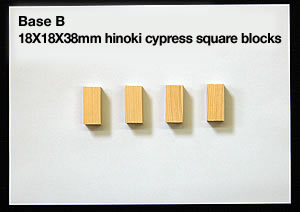
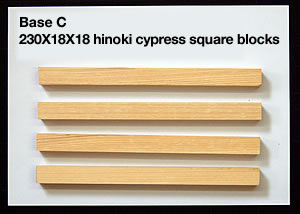
Next, saw the 2 hinoki cypress square blocks (18X18X910mm) into four 38mm-long pieces for "base B," and four 230mm-long pieces for "base C." The measurements are very exact. Even a slight error may result in having to start all over, so saw gently and precisely.
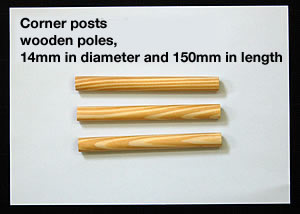
For the corner posts, which are made from the wooden pole (15mm in diameter, 910mm in length), saw three pieces, measuring 150mm in length.
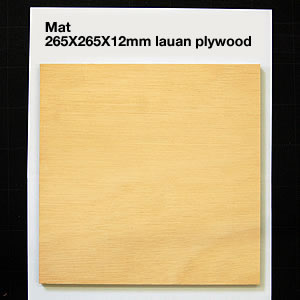
The lauan plywood (265X265X12mm) is used for the mat of the ring. Due to the difficulty of sawing a straight line, I had the DIY shop do it, and I recommend that you do the same.
Of course, the DIY shop can cut all the wood to measure. However, it's good for kids to see their dads cutting and sawing things by hand. Just be careful not to cut yourself!
Next time, we'll start putting things together.