#4 Making the base of the ring―Part 2
We've completed the framework for the base of the ring. Now, it's time to move onto the sideboards.
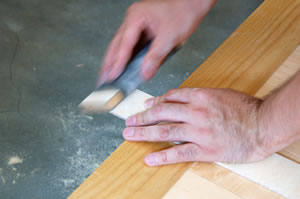
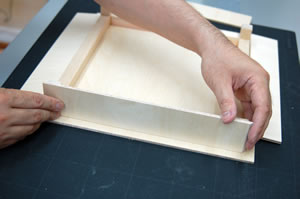
First, sandpaper one end of the 270X50X4mm linden plywood until you have a 45-degree angle. (It's easier to sand, if you wrap the sandpaper around a small block of wood.)
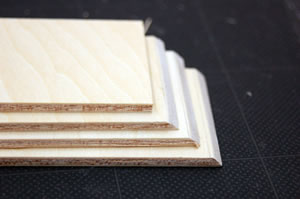
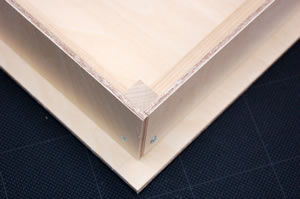
Do the same with two other pieces of plywood, and leave one as is. The angled end will provide firm support for the corner posts.
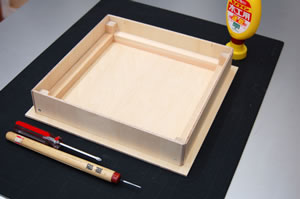
Apply bonding glue to the outer sides of base B and C, and set the sideboards. Be sure the angled edge of the sideboard extends 4mm from the edge of base B. The evenly cut wood for the sideboard is placed next to it, and it should fit perfectly.
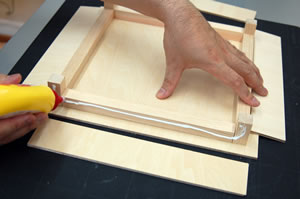
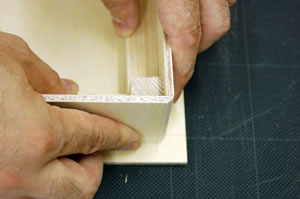
Do the same with the other three sides.

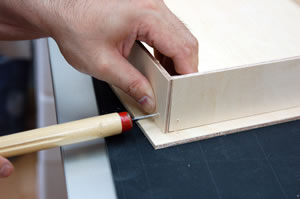
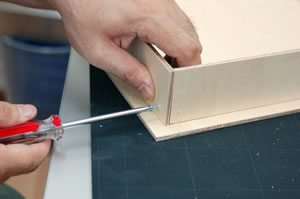
In provide better stability, base B and the sideboards are screwed in about 15mm from the bottom with 16mm-long wooden screws. Use a gimlet to make holes for the screws.
Three corners of the ring base have edges with a 45-degree angle so that the corner posts can be firmly attached. The straight-cut piece serves as the front.

Set the lauan plywood, which serves as the mat, in the base to check the fit. Sand any areas that don't fit correctly.
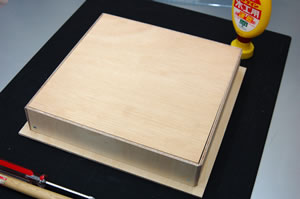
The base is finished. Next time, we'll work on the corner posts.