#5 Making the corner posts
With a completed base, we can move onto the corner posts.
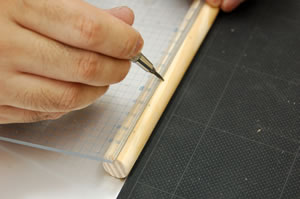
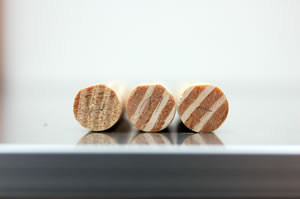
First, take out the three wooden poles, which were cut to 150mm in length. Using a pencil, measure 20mm, and mark a dot. Do the same at two more 20mm intervals, being careful to make a precise dot.
Use the gimlet to make holes in the dots. We'll later insert screw eyes, which will be used for the rope. First, we'll paint the corner posts. Note that the side of the pole with the screw eyes will face inward.
Next, we do a few things to make sure our corner posts perfectly align with the 45-degree angled edges. On the same side, but at the opposite end, with the holes in it, measure 50mm and mark with a pencil.
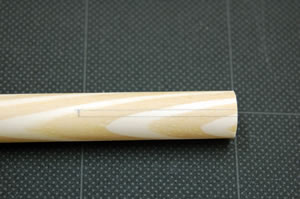
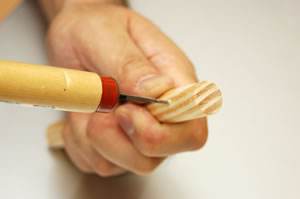
Using the file, start at the bottom and file a flat surface about 6mm wide up to the marked point. The flat area should measure 50mm long and 6mm wide, so be careful not to file too much.

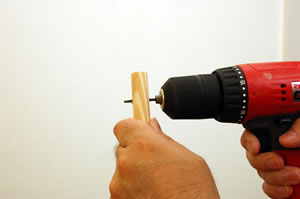
Now, we'll make screw holes on the poles so they can be fixed to the ring. Measuring 20mm from the bottom, mark the flat area with a pencil, and make a small hole, using the gimlet. Drill a hole through the center. As before, make sure the drill blade is slightly smaller than the diameter of the screw.
Well, the corner posts are ready. Next time, they'll get a coat of paint.