#7 Finishing the corner posts and assembling the ring
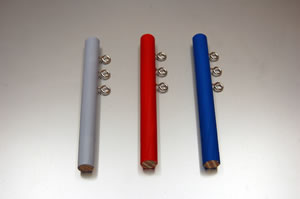
Take a painted post and fix the screw eyes into the three gimlet holes. Do the same with the remaining two poles.
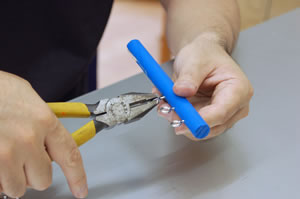
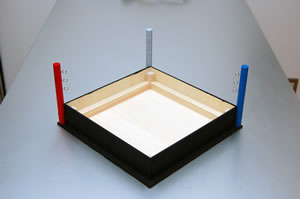
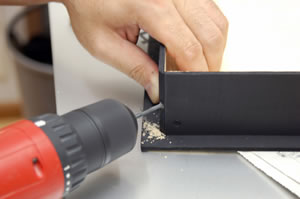
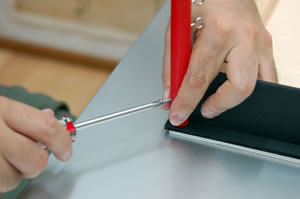
Press the flat surface of the corner post against the corner piece of the ring, which was filed to a 45-degree angle. Run the gimlet through the drilled hole on the corner post to make a scratch mark on the corner of the ring. Now, drill a hole through the scratched mark. Again, make sure the drill blade is slightly smaller than the diameter of the screw. After making the hole, press the flat surface of the corner post against the corner of the ring with a 45-degree angle. Fix it with a 25mm-long wooden screw. Do the same with the other two poles. Double check that the corner posts are arranged correctly: the left front should have a red corner post; the right front, a blue post; between them stands the gray.
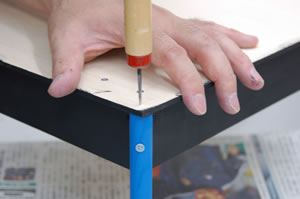
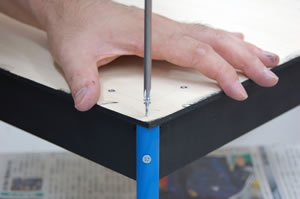
Now, turn the ring over, so we can firmly fix the corners posts. Use the gimlet to make holes in the bottom of the base. Take the shorter 16mm-wooden screws, and screw them in. By fixing them at the side and from the bottom, the posts should remain steady and strong.
Now we've got something that looks like a ring. Next time we'll work on the mat.