#1 The materials
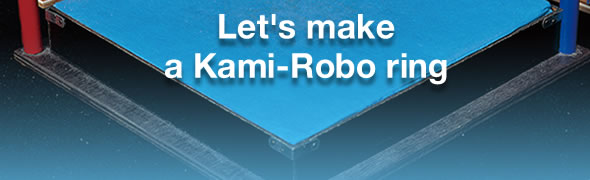
How to make a Kami-Robo ring?
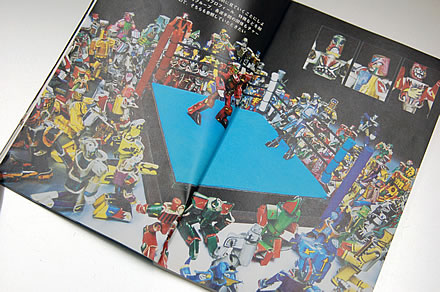
I found this page in the "Kami-Robo Official Handbook," giving me an image to work with. How did Mr. Yasui make it? I racked my brains trying to decide everything that was necessary. Being practical, I decided everything had to come from the local DIY shop.
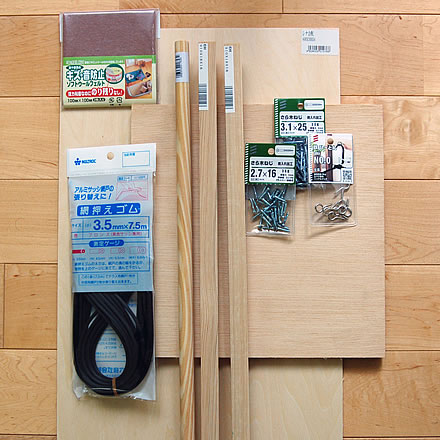
Below is a list of what I bought.
*materials
--linden plywood (300X600X4mm)
--lauan plywood (265X265X12mm) cut to size at the DIY shop.
--wooden pole (15mm in diameter, 910mm long) Any wood is fine, excluding paulownia, which is too soft.
--2 square pieces of hinoki cypress (18X18X910mm)
--24 wooden screws (2.7X16mm)
--4 wooden screws (3.1X25mm)
--9 screw eyes (No. 0)
--adhesive felt tape for protecting surfaces (ones used for the bottom of chair legs)
--rubber stopper for sliding window screens, (3.5mm thick), for the rope ring. Rubber tube also works.
--cotton cloth, (about 400X400), for covering the mat. Thin cotton is easy to work with. I selected blue, because that's the color of Mr. Yasui's ring.
--plastic packing sheet (about 300X300mm in size, 2mm thick) Not bubble wrap.
--woodwork bonding glue
--double-faced adhesive tape
*tools
--gimlet
--screwdriver
--drill
--quick point knife
--saw
--staple gun
--sandpaper and file
--pencil
--ruler