#9 Get the hang of the ropes
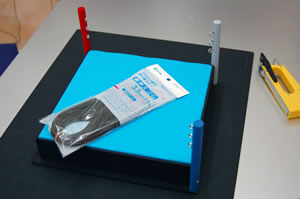
Materials needed for making the mat.
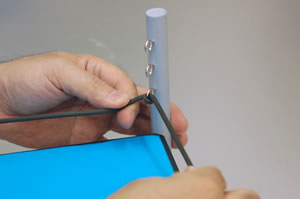
What type of rope? Looking for something inexpensive, I ran across rubber stopper used for window screens, which is perfect for the ring.
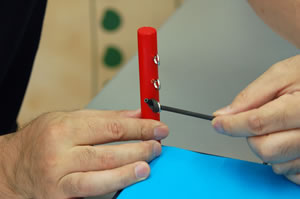
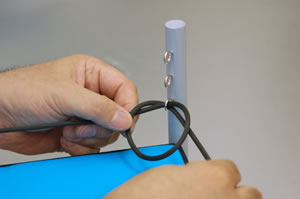
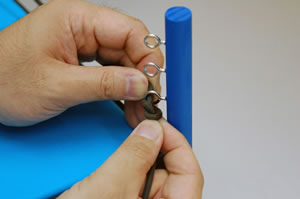
Knot the end of the rubber string. Run the other end through the eye screw attached to the red corner post. Wrap it twice through the eye screw on the gray post to keep it taut. (Wrapping it twice also helps to keep the rope even on the right and left sides.) Next, run the rope through the eye screw on the blue post, and knot it. Pull the rope firmly before knotting it.
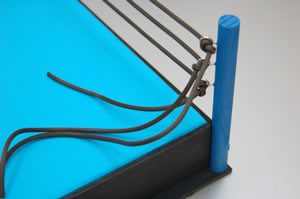
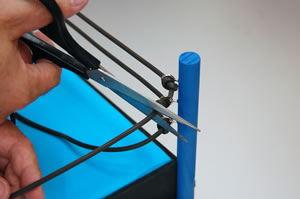
After running the rope through the eye screws, pull them taut, and check that the three ropes hang evenly. Trim the ends of the rope, and it's almost ready to go.
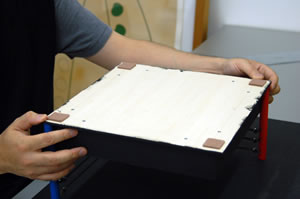
One can imagine the heated battles in the ring, and the scratches left on the dining-room table when the fight is over. To avoid damage to tables and floors, stick felt adhesive pads, used for the legs of chairs, over the four screw tops.
This completes the Kami-Robo ring.
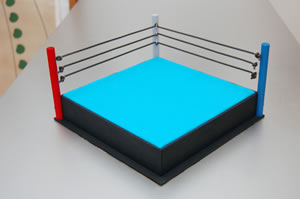
A real wrestling ring has covers on top of the corner posts to protect the wrestlers from injury or foul play. You could make poll covers with thick fabric or felt pieces.
This concludes my 10-part series on building a wrestling ring. I hope the instructions were clear and kept frustration at bay. If you have difficulty finding the required materials or following my instructions, follow your own instincts, imagining how Mr. Yasui would proceed.
To Mr. Yasui, I offer you my apology for not seeking your approval for making a Kami-Robo ring. I hope it's up to your standards.
For everyone, who made it this far, thank you for your support.